
Free Audi MMI Maps and Speedcams Update 2024
Update Audi Maps and Speedcams for free; files and steps are included for Maps 2022/2023/2024. All without the need for OBDeleven or VCDS. This process will work for other VAG cars too not just Audi.


Before diving in, it is assumed that any changes you make to your car are at YOUR OWN RISK!
One of the things I did on my Ford Focus RS was play with the multi-media interface and update the SYNC system manually. Once again, I wanted to see what I could do with my Audi as there are various services available where you can pay anything from £60 - £500 to get firmware updates to the Audi Multi Media Interface(MMI). Note this update file used is for the UK/EU (it is possible with the rest of the world, and the process is similar, just the files will differ), and speed cameras are for the UK only due to GPS location etc.
IMPORTANT: All things demonstrated in this blog post are done at your own risk, and I am not liable if you brick your car! Most of the similar services for a fee also offer no liability. They just charge you for the files and instructions!
Simply searching google for 'How Do I Update myAudi navigation maps for free' gets you lots of results claiming to be able to sell you the correct files. However, in this tutorial, I am going to walk you through the steps required to do it for free, all without the need for OBDeleven or VCDS, the files are available for all VAG cars that have a similar MMI system, and thus the update has been pulled from VW's site as they still make the files available for anyone to download.
The same map update is used not only in Audi MMI Navigation Plus (A3 A4 A5 A6 A7 A8 Q2 Q5 Q7 TT R8) but also in Volkswagen Discover Pro (Golf, Passat, Arteon), Seat Navi Plus (Leon, Ateca), and Skoda Columbus (Octavia, Superb), Porsche, and Bentley cars. I am updating an Audi R8 V10+ 2017 UK car for this example.
Navigation maps are used for traffic sign recognition, predictive cruise control (pACC) [If your car supports it, note this update will not add cruise control to a car without it], and other environment-related features. That's why it's a good idea to keep those maps updated.
Required Software/Hardware
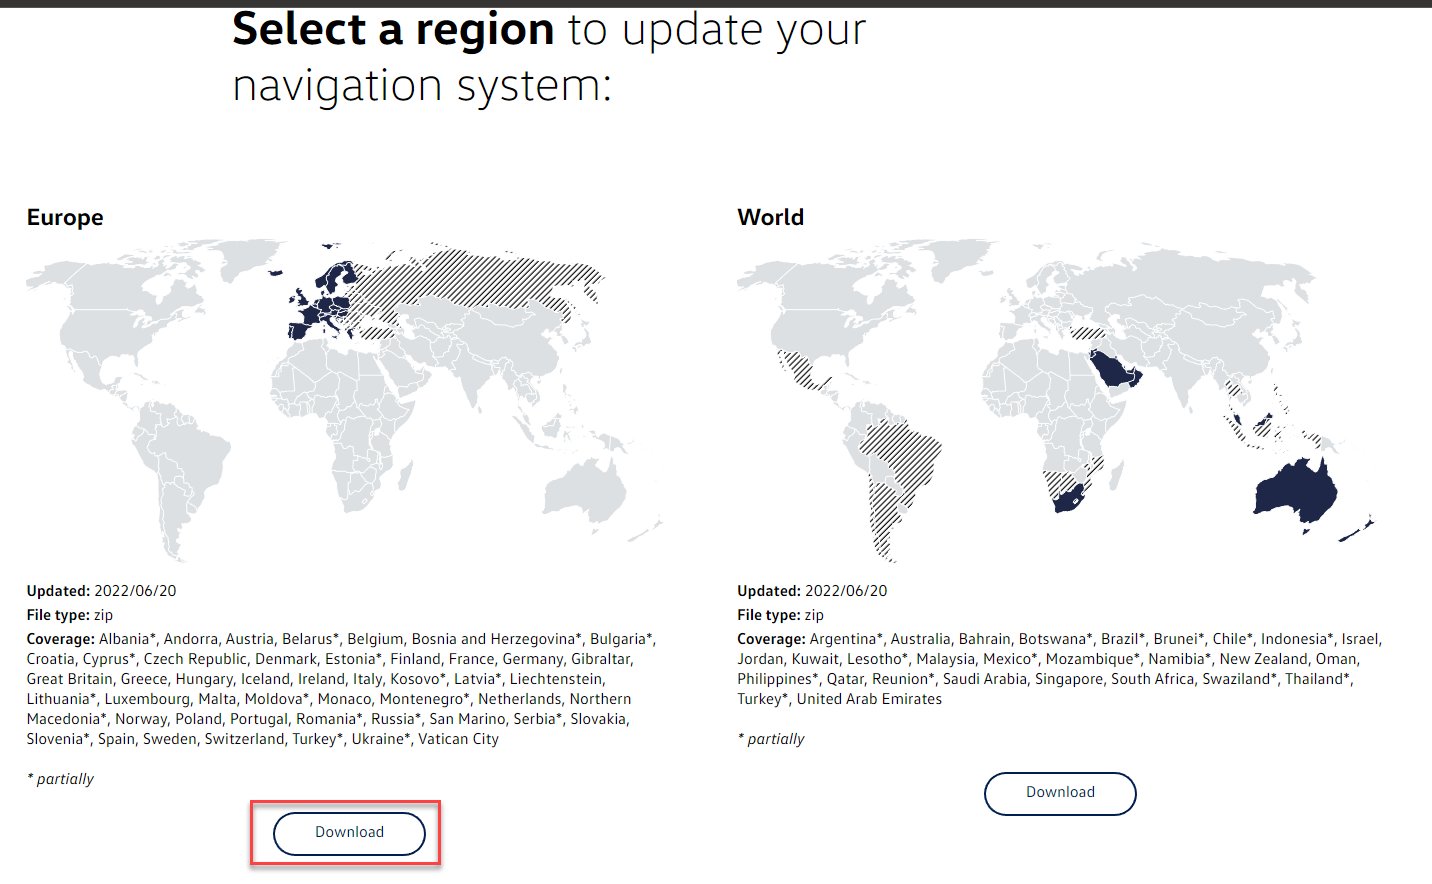
- MIB1/MIB2 ECE (East and Central Europe inc UK) Maps 2022/2023 The file required for Maps Update
Note that you can access other maps files by navigating to VW's site: Navigate to https://app-connect.volkswagen.com/m...tem/#selection then select Golf R -> From 2017 -> select discover pro -> select whatever region you are in; in my case, I selected Europe:
- Update: The maps files, firmware and other Audi/VW Group firmware files can also be pulled from this repository: https://mibsolution.one/#/1. The username is
guestand password is alsoguest. - 7-zip to extract the update packages and other zip files.
- POIBase - Software Required for Speed Camera Bundle Creation
- PocketGPS - Bundle of Data for Speed Cameras in the UK to be uploaded via POIBase (This has a charge, but if you scroll down, there's a way of doing it for free!)
- 64GB SD Card - This is what we will use to upload data to the car; the one linked is the best for the job I've found as it's quick and affordable.
Pre-Requisite Checking
Before applying updates, check a few things in your car and the MMI version. The way to do this is to pop the hidden red engineering menu, which can be done by holding the button for NAV/MAP up and the button for RADIO down at the same time while in the settings:
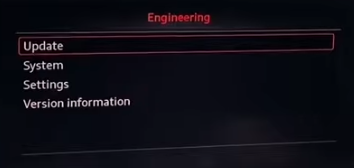
Navigate to Version Information which will show the version of your MMI system. Note: You must hold down the same button combination to exit this screen. Otherwise, it will remain on this screen even after turning the car off(I found this the hard way!).
Within Version Information, this will work for you if your version shows MHI2 or MHI2Q. Otherwise, you will need to download additional files, which I will not demonstrate in this tutorial.
Updating Maps to 2022/2023
Once you have verified you have the correct version of Audi MMI, the next step is to format an SD card as exFAT and copy the contents of the maps 7zip file. (Extract the 7zip to a folder and copy its contents to the SD card).
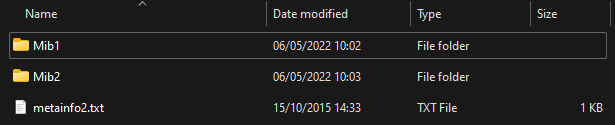
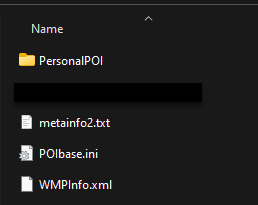
Your SD card contents should look similar to this if you've done it correctly; note the metainfo2.txt file, this is key as it contains all the hashes of various files and the mappings to the update file, it is also what the car MMI uses to identify the update file, and without it, the car will not recognise that there's an update file.
Updating the Car
Plug the SD card into the SD1 card slot on your MMI unit within the car; for most cars, this will either be in the glove box or, in my case, the unit sits between the seats at the centre console.
Next, we need to select the update file with the SD card hooked up. To do this go to MENU, Setup MMI, System update, SD1, and Start update; this will search the SD card for a few min, then should throw up a 'start update' message like the following:
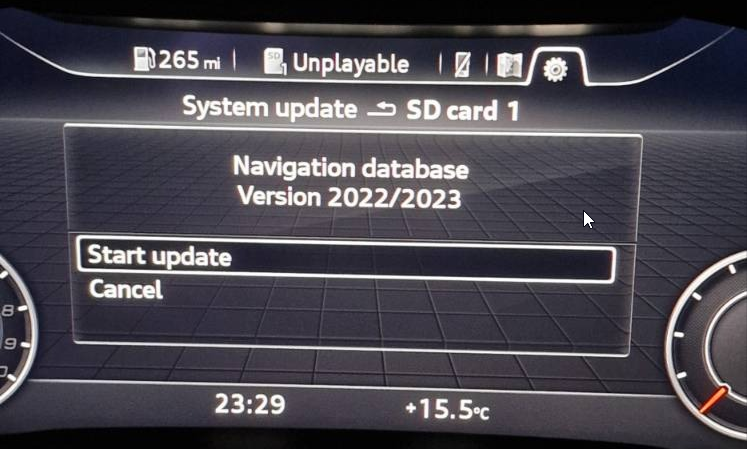
With the maps update, this process will take anywhere from 40 minutes to over an hour depending on the speed of the SD card used for the process the ignition also needs to be on therefore it is recommended that you either put the car on a charger to ensure the battery does not die or go for a drive.
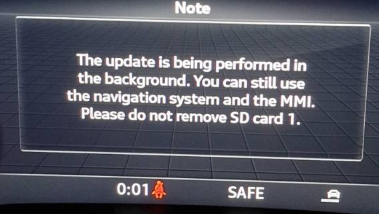
Note that while the update process runs, the virtual cockpit can be used as normal by pressing the back key or view key and the car will display that an update is happening usually in the bottom right like so:
Upon completion, the dashboard will show 'Component has been updated successfully. Navigation database Current Version: 2022/2023:
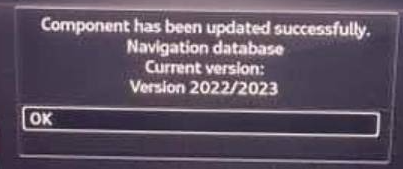
Sorry for the awful photo resolution; it was taken on my iPhone and is several years old!
Applying Speed Camera locations to Maps
Once the maps package has been updated, we can add the speed cameras as an option. First, you want to re-format your SD card back to exFAT or FAT32 to ensure the contents are blank for the following process of installing points of interest (POIs).
The process for this can be done in one of two ways. Either you can do it manually via PocketGPS & POIBase, which I'll explain below, OR if you cannot be bothered, I've built the bundle for you, which has the latest information from PocketGPS as of 17th August 2022 for the UK, this can be downloaded here.
If you prefer to do this manually, you will need to sign up for an account on both PocketGPS and POIBase; both are free; however, to get your hands on the GPS data, you'll need to pay a 19.99 fee to PocketGPS for the files. Once you've signed up, you can download the files from the downloads section:
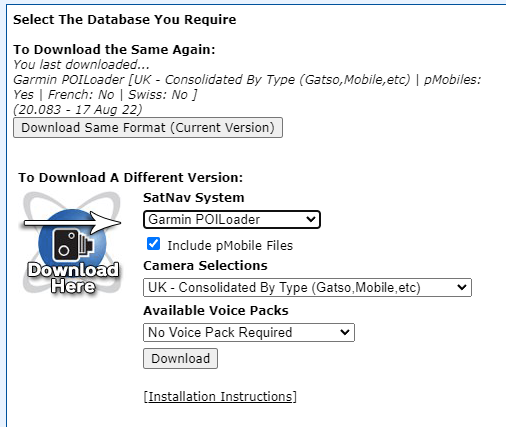
- Download the files: Select Garmin POILoader, UK - Consolidated By Type: This will give you five different files + individual BMP image files.
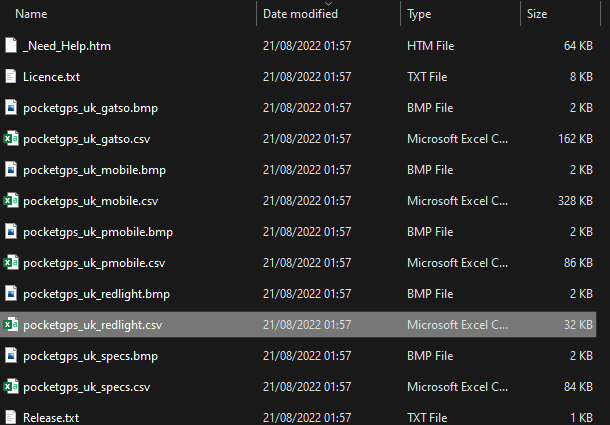
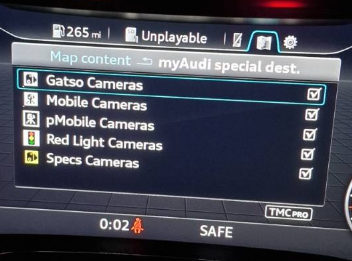
The downloaded zip contains several CSV and BMP files; in consolidated selections, you'll have Gatso, Mobile, pmobile, Red Light and Specs Cameras:
Now the fun part/bit that just takes a bit of time, we will create the bundle manually. First thing to do is load up POIBase on your windows machine, this can be done on mac but it just works better on Windows:
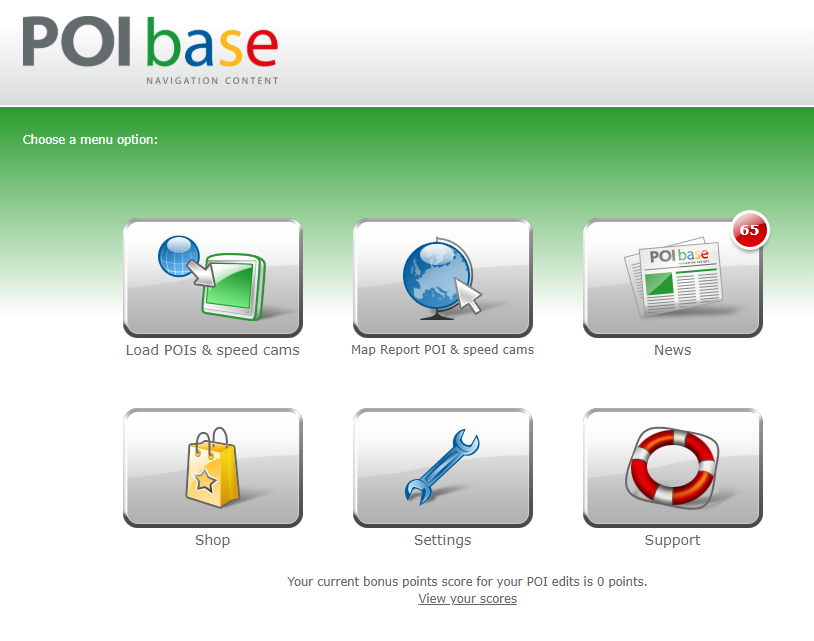
Navigate to Load POIs and speed cams, then select my private POIs:
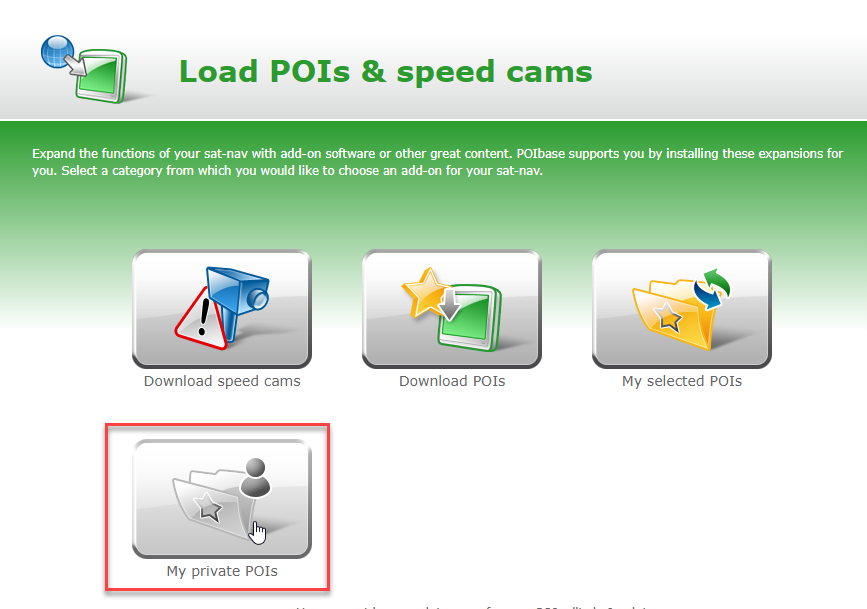
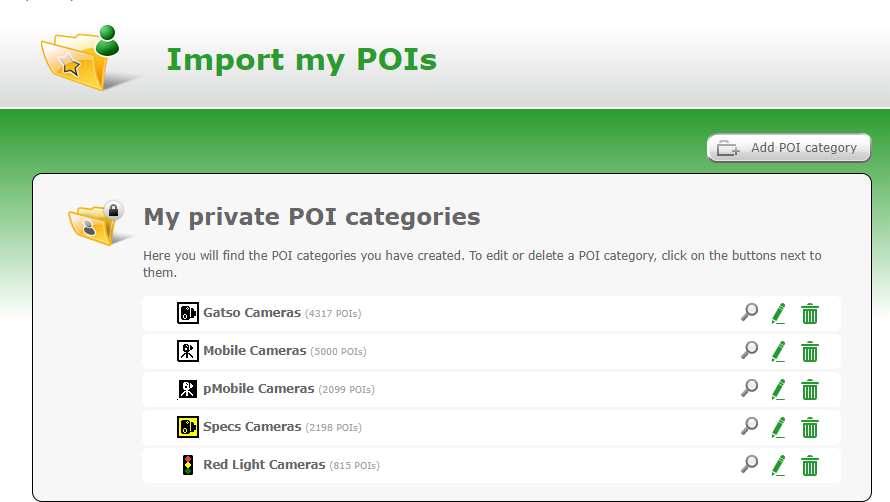
Upon clicking this, you'll be given the option to Import my POIs, select this and we're going to add a custom POI category, your view will be blank, but this is what a finished copy looks like; note on the free version of the software you're limited to five categories, therefore, the consolidated bundle is recommended from PocketGPS for this reason.
Select Add POI category, give it a name as this will be what's displayed on your MMI within the car, and select upload own Icon, the PocketGPS bundle from earlier will give you BMP files which are 22x22; therefore, select this in the category image section:

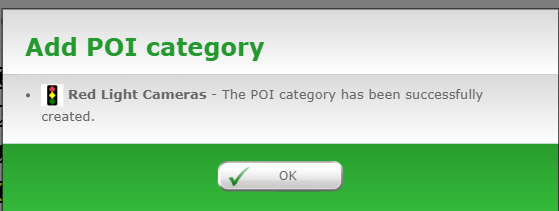
Once you've selected an icon, select the POI file, which is the CSV that matches the respective icon for the category of camera. Leave the column configuration as default, then select Add POI category, which will show you the icon you've selected and the name of the category:
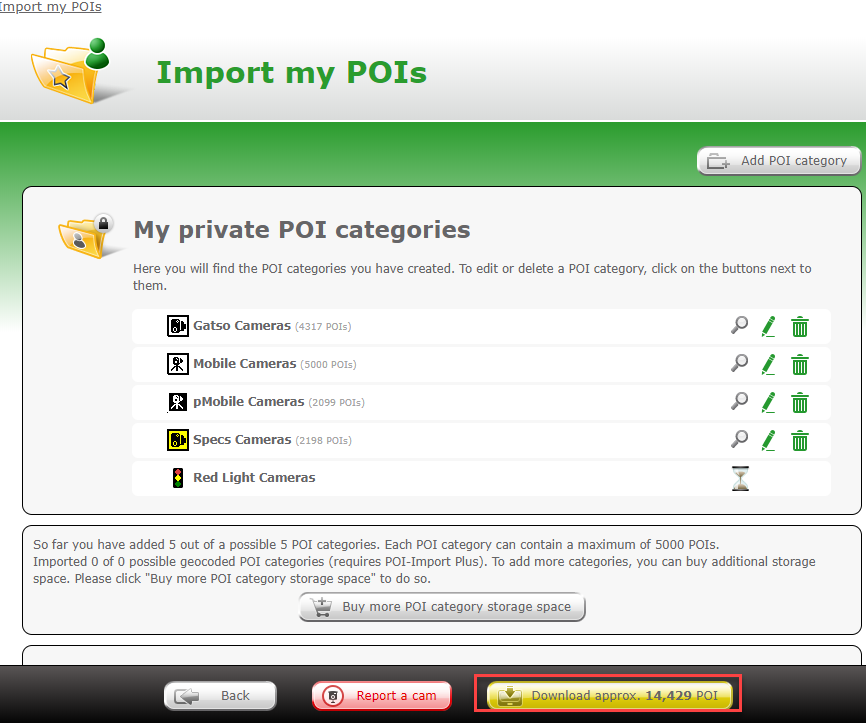
Repeat these steps till you've done all five sections like my initial image(note there may be an hourglass image while the software processes each CSV, this is normal and may take a few secs), then select Download Approx POI; this will load up the POIs into a bundle and prompt you where to save it, select your SD card from earlier.
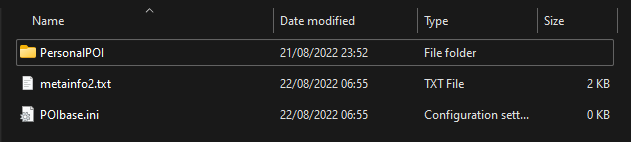
This process will take a minute or two, but when it is done, your SD card should look something like this:
Once your SD card is loaded with the files and bundle, it is time to load it up in the car. therefore plug it into the SD1 port, go to MENU, Setup MMI, System update, SD1, and Start update; as the files are tiny, this will take under a minute but depending on how big your maps file was initially, it could take longer as it is overlaying the points of interest to the sat nav already in place.
To add the speed cameras to the map, simply navigate the navigation options.
- Press the NAV/MAP button
- Press the left control button
- Select Special destinations
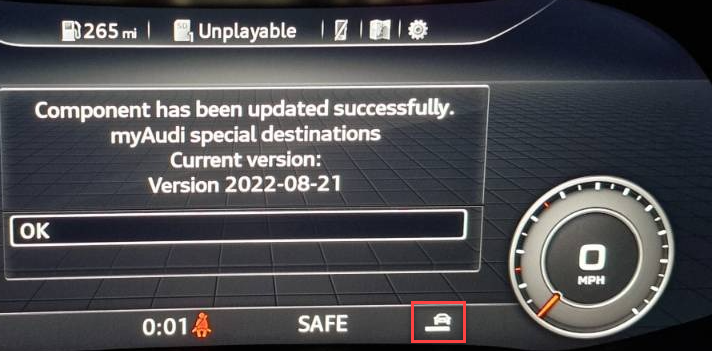
- Select myAudi special destinations using the right control button
- Select Import myAudi special destinations
- Process now complete.
You should see cameras on your map and hear an audible alert when approaching a camera. Note that this can get annoying, and the process of turning the audible tone off is as follows:
- Go to the nav screen
- Press the Right Options button
- Scroll down a select “Navigation Settings.”
- Choose “Arrival Notifications”
- Untick the option for “Play notification tone.”
Conclusion
This post has taken you through the steps to inexpensively apply updates to your car;. At the same time, none of this is technically car hacking; it does offer the ability to update things on the cheap/free and hopefully serves as a platform for learning more. I hope to post another soon on how to enable Carplay/Android Auto if your car supports it as an aftermarket update via MIB, a modified firmware file for Audi's MMI system. For more information on this firmware, see the GitHub repo here https://github.com/Mr-MIBonk/M.I.B._More-Incredible-Bash.
